> ## Documentation Index
> Fetch the complete documentation index at: https://visitdocs.planpoint.io/llms.txt
> Use this file to discover all available pages before exploring further.
# Images & media
> Accepted formats, size limits, what each image is used for, and what happens when one is missing.
## Accepted formats
Planpoint Visit accepts **JPEG**, **PNG**, **WebP** and **SVG**. Uploads happen as soon as you pick the file — there is no separate save step for an image.
| Where | Recommended | Size limit |
| ------------------------- | --------------------------------------- | ----------------- |
| Exterior image | Wide landscape JPEG, straight-on facade | 1 MB |
| Additional 360° exteriors | Same framing as the main shot | 1 MB each, 10 max |
| Floor plan image | High-resolution line art on white | 10 MB |
| Room photo | Landscape, 3:2 | 10 MB |
| Additional room photos | Landscape, 3:2 | 10 MB each |
| Logo | SVG or transparent PNG | 10 MB |
Exterior photos are capped at 1 MB on purpose. They are the first thing that loads, usually over mobile data, and a heavy hero photo is the single biggest cause of a Visit feeling slow.
## What each image is used for
* **Exterior image** — the entry screen of the tour, the cover of the dashboard card, the image in Property Map cards, and the picture that appears when the link is shared on WhatsApp, iMessage or LinkedIn.
* **Floor plan image** — the drawing that room polygons, viewpoints and furniture are placed on.
* **Room photo** — the room card, the room view, the base image for [feature hotspots](/build/hotspots) and for [AI reimagining](/features/reimagine).
* **Additional room photos** — the gallery inside the room view.
## Preparing photos
* **Shoot landscape.** The viewer is a wide two-pane layout; portrait photos letterbox with grey bars on either side.
* **Be consistent.** Photos taken at the same height with the same lens make a home feel coherent.
* **Resize before uploading.** 2000 px on the long edge is plenty; anything larger just costs load time.
* **Plans: keep them clean.** White background, black lines, no watermark. If the plan already has furniture printed on it, you can cover it with the eraser in the [furniture editor](/build/floors#furniture-on-the-plan).
## Missing images
If an image has not been uploaded — or a file fails to load — the viewer never shows a broken-image icon. It shows a tidy placeholder that names what is missing:
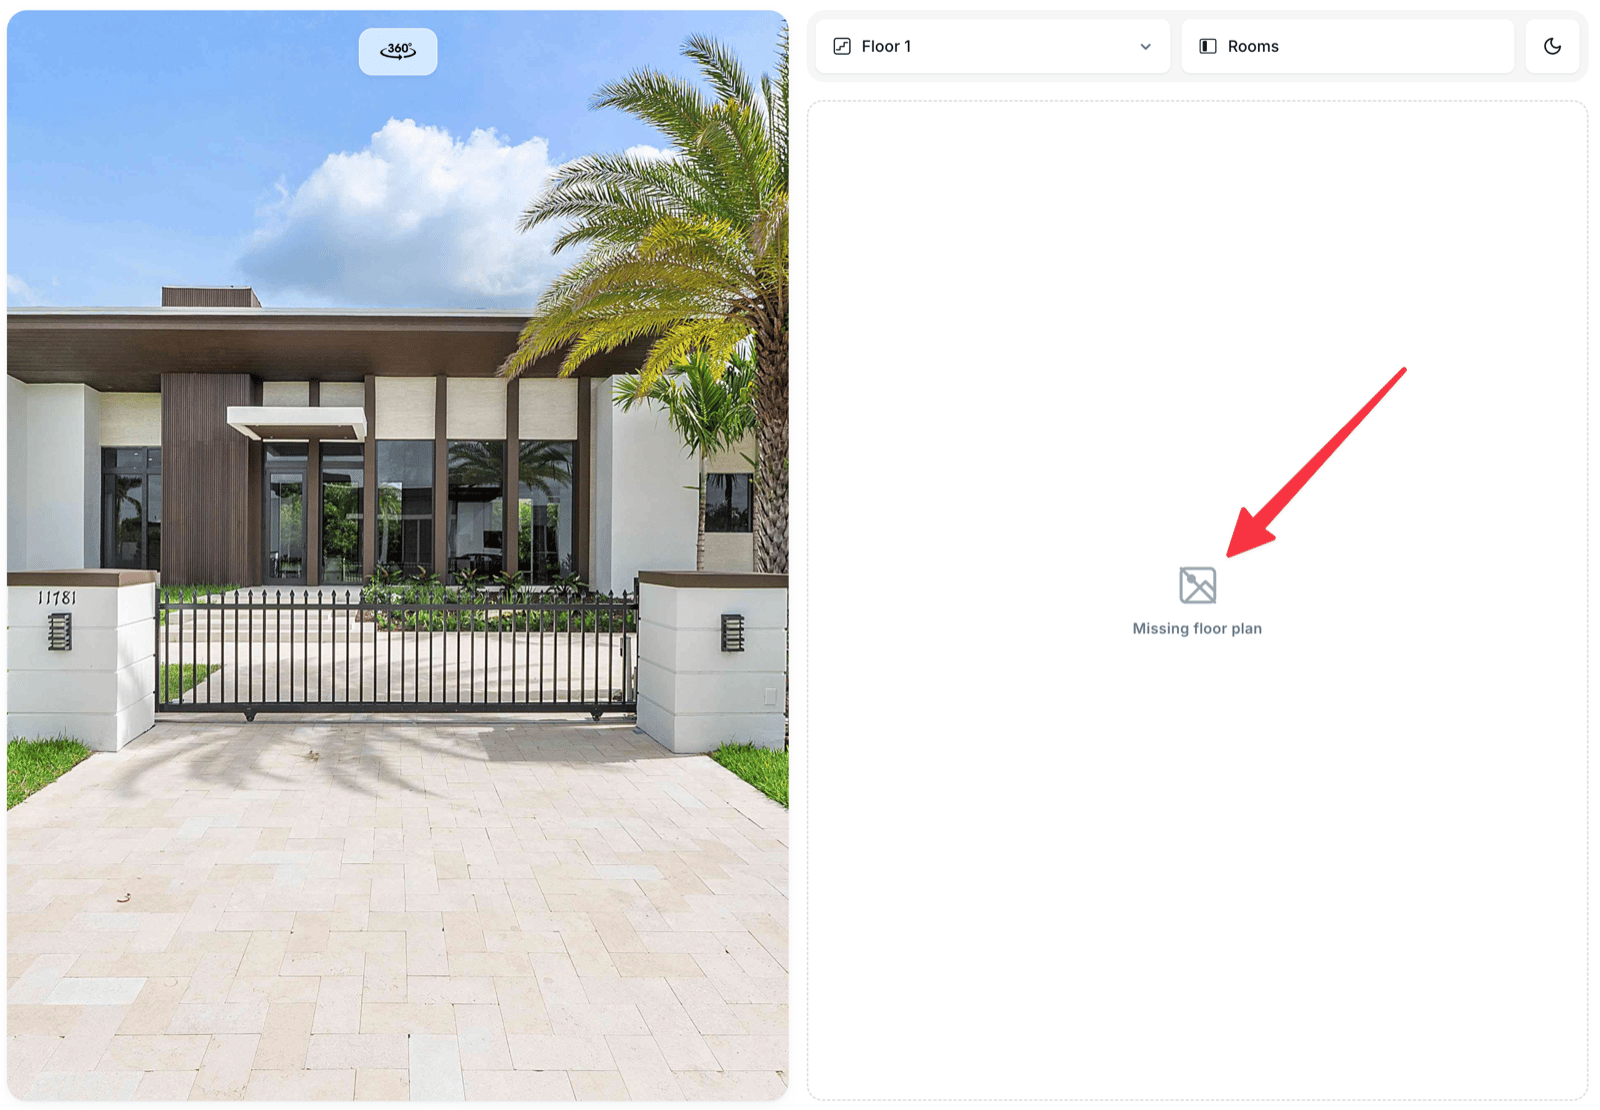 You will see: *Missing exterior image*, *Missing floor plan*, *Missing room photo* or *Missing photo*. These placeholders are translated along with the rest of the interface.
Seeing a placeholder on a published Visit is your cue that something did not upload. Go back to the matching **Content** tab and re-upload.
## Deleting and replacing
Replacing an image is a single click on the same field — pick a new file and it overwrites. Removing an additional exterior or room photo uses the small **×** on its thumbnail.
You will see: *Missing exterior image*, *Missing floor plan*, *Missing room photo* or *Missing photo*. These placeholders are translated along with the rest of the interface.
Seeing a placeholder on a published Visit is your cue that something did not upload. Go back to the matching **Content** tab and re-upload.
## Deleting and replacing
Replacing an image is a single click on the same field — pick a new file and it overwrites. Removing an additional exterior or room photo uses the small **×** on its thumbnail.