

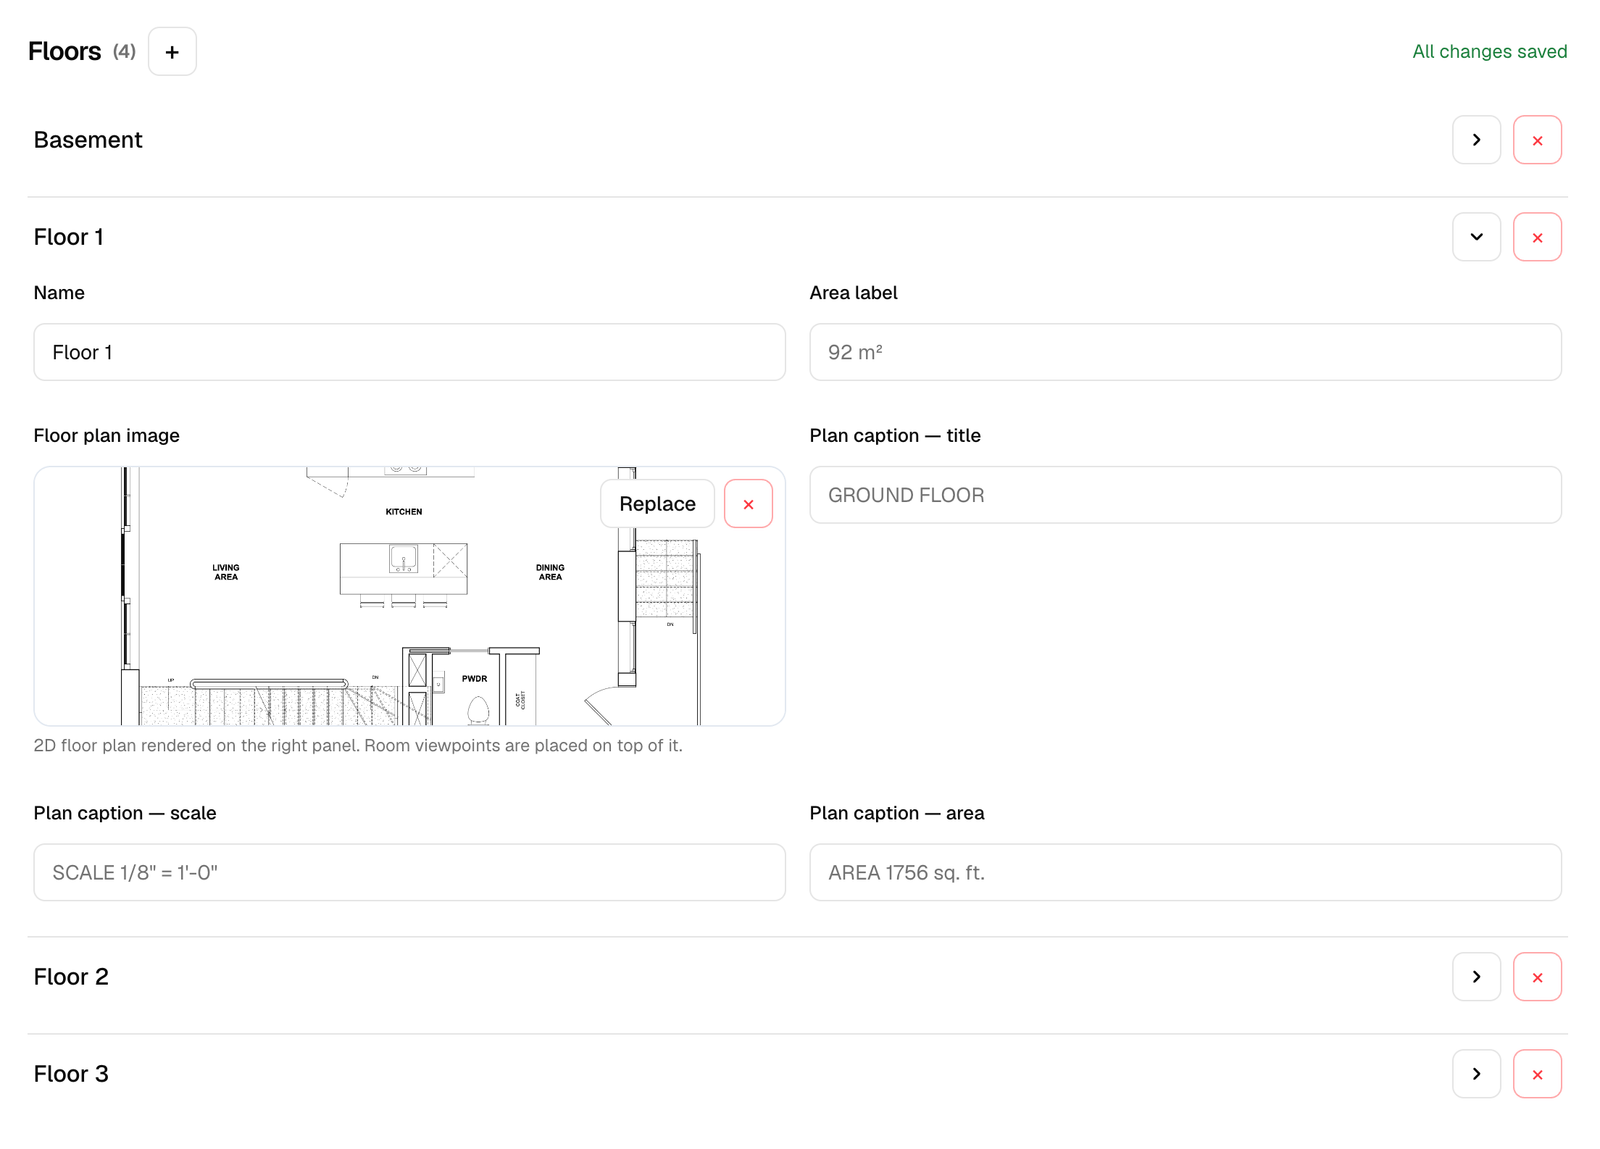
Content → Floors — one card per level
Adding a floor
Click + to add a level, then fill in its fields. Floors are shown to buyers in the order they appear here, so add them in the order you want them browsed — usually bottom to top, or the way an agent would walk a client through the property.Floor fields
Name
Name
What buyers see in the floor selector and on room cards:
Ground floor, Second floor, Basement. Use the names people actually say — the viewer never renames them to “Floor 1”.Area label
Area label
Free text such as
92 m² or 1,756 sq. ft., shown next to the floor.Floor plan image
Floor plan image
The plan drawing for this level. Line-art plans on a white background look best and stay readable on a phone. Upload the plan at a decent resolution — the viewer scales it down, and buyers can zoom.No plan for this property? See Creating a floor plan for the three ways to produce one.
Plan caption — title / scale / area
Plan caption — title / scale / area
Three optional lines printed with the plan, mirroring an architect’s title block: for example
GROUND FLOOR, SCALE 1/8" = 1'-0" and AREA 1756 sq. ft.Furniture is not something you place from the dashboard. Buyers furnish the plan themselves from the viewer (Open Editor), and their layout stays on their own device — see Floor plan editor.