

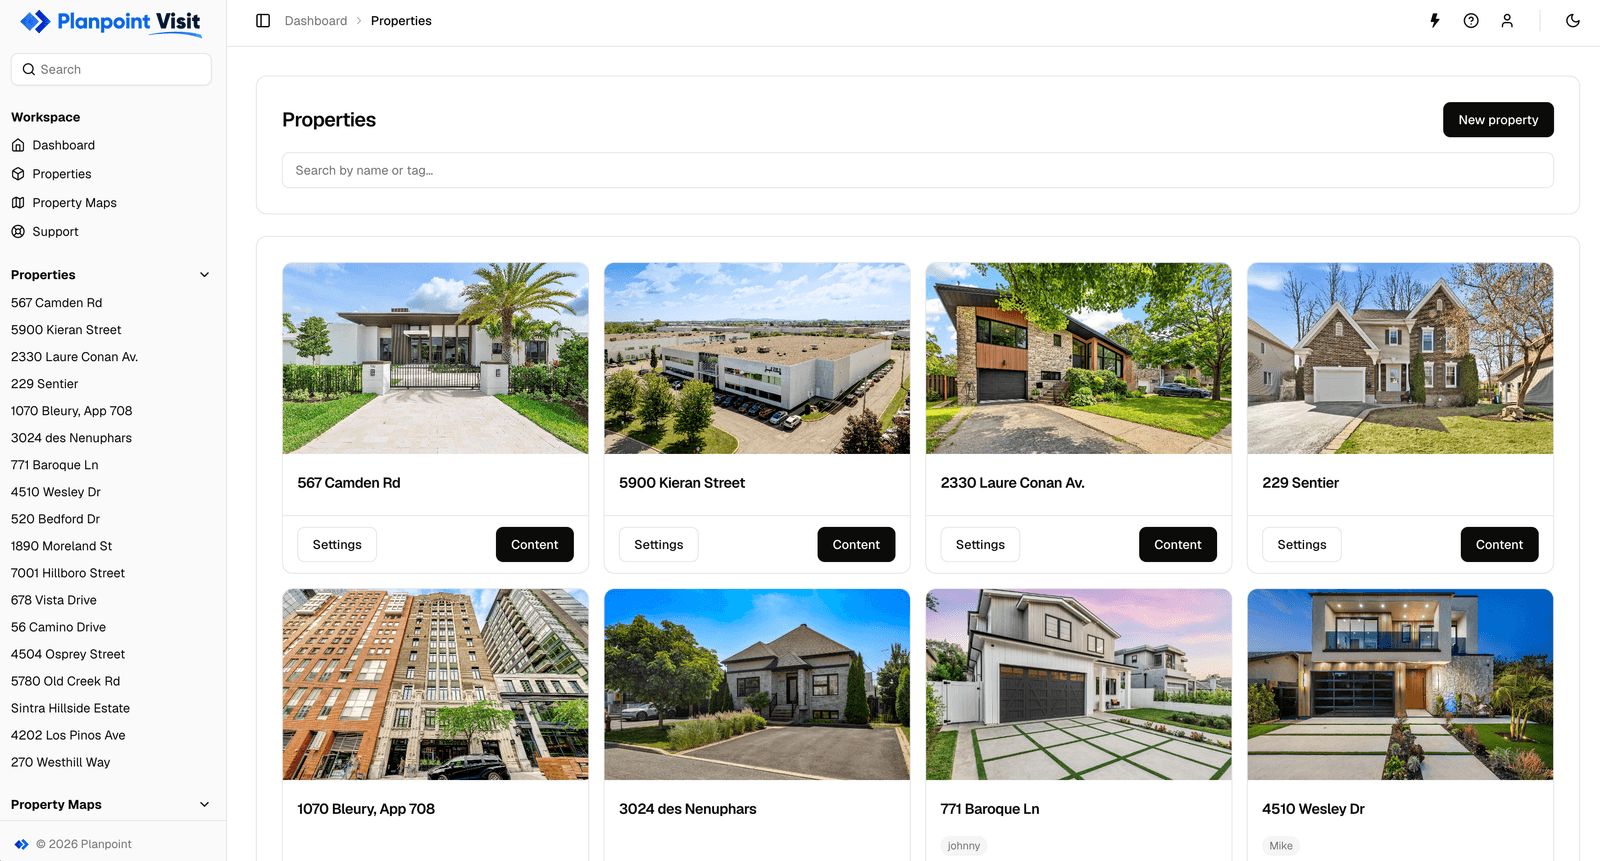
The dashboard home — every property you own, with a shortcut to its settings and content
The sidebar
The left sidebar always shows where you are:
When no property is open the sidebar shows workspace navigation. As soon as you open one, it switches to that property’s sections so you can jump between Exterior, Floors, Rooms, Details and so on without going back.
The properties list
Properties separates your Visits into Active and Archived. Active Visits can be edited and opened publicly; Archived Visits stay saved but offline until you restore them. See Archive and restore Visits for the complete workflow. Because agencies end up with hundreds of Visits, both lists are built around search: the field at the top filters by property name or tag as you type.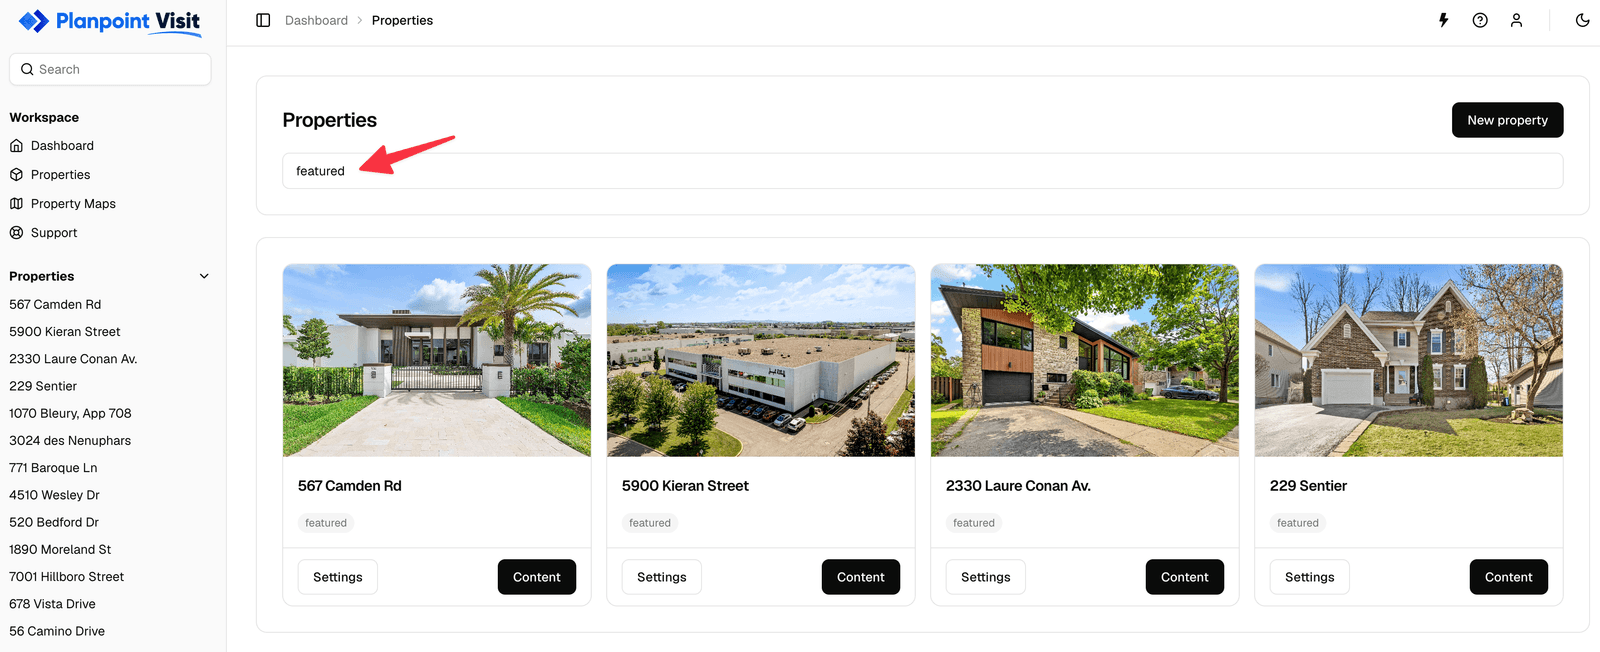
Search filters by name and by tag
The three property tabs
Every property is edited through three tabs:Content
Exterior, Floors, Rooms — the tour itself.
Settings
Details, Customization, Style & Embed.
Sales & Marketing
Analytics and the contact Form.
Saving
There is no Save button in most of the editor. Planpoint Visit saves automatically a moment after you stop editing, and each card shows its own status:- Saving… — the change is on its way to the server.
- All changes saved — you’re safe to close the tab.
- Unsaved changes — something is still buffered locally (usually a text field you’re still typing in).
Light and dark mode
The dashboard follows your preference — use the toggle in the top bar to switch between light and dark. This is purely a dashboard setting; it does not change what buyers see. To offer buyers a dark mode, see Dark mode.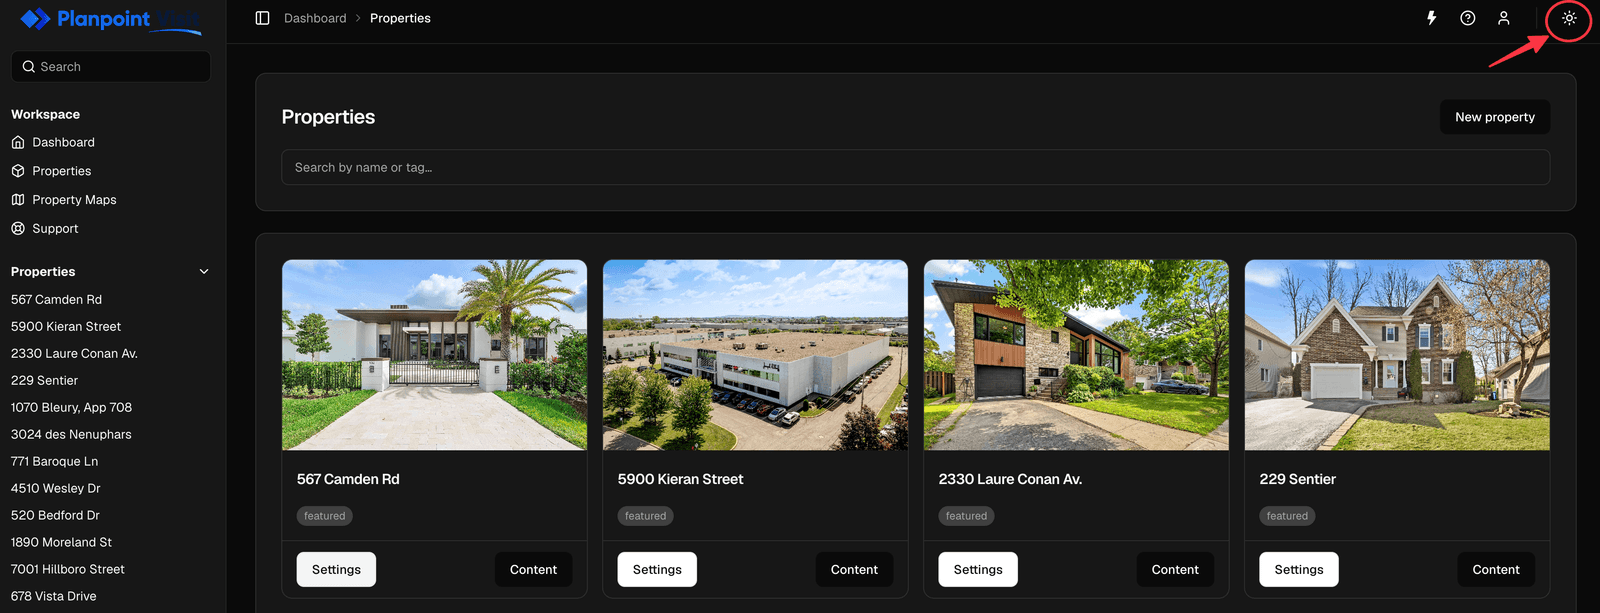
The top bar: dark-mode toggle and the account menu