

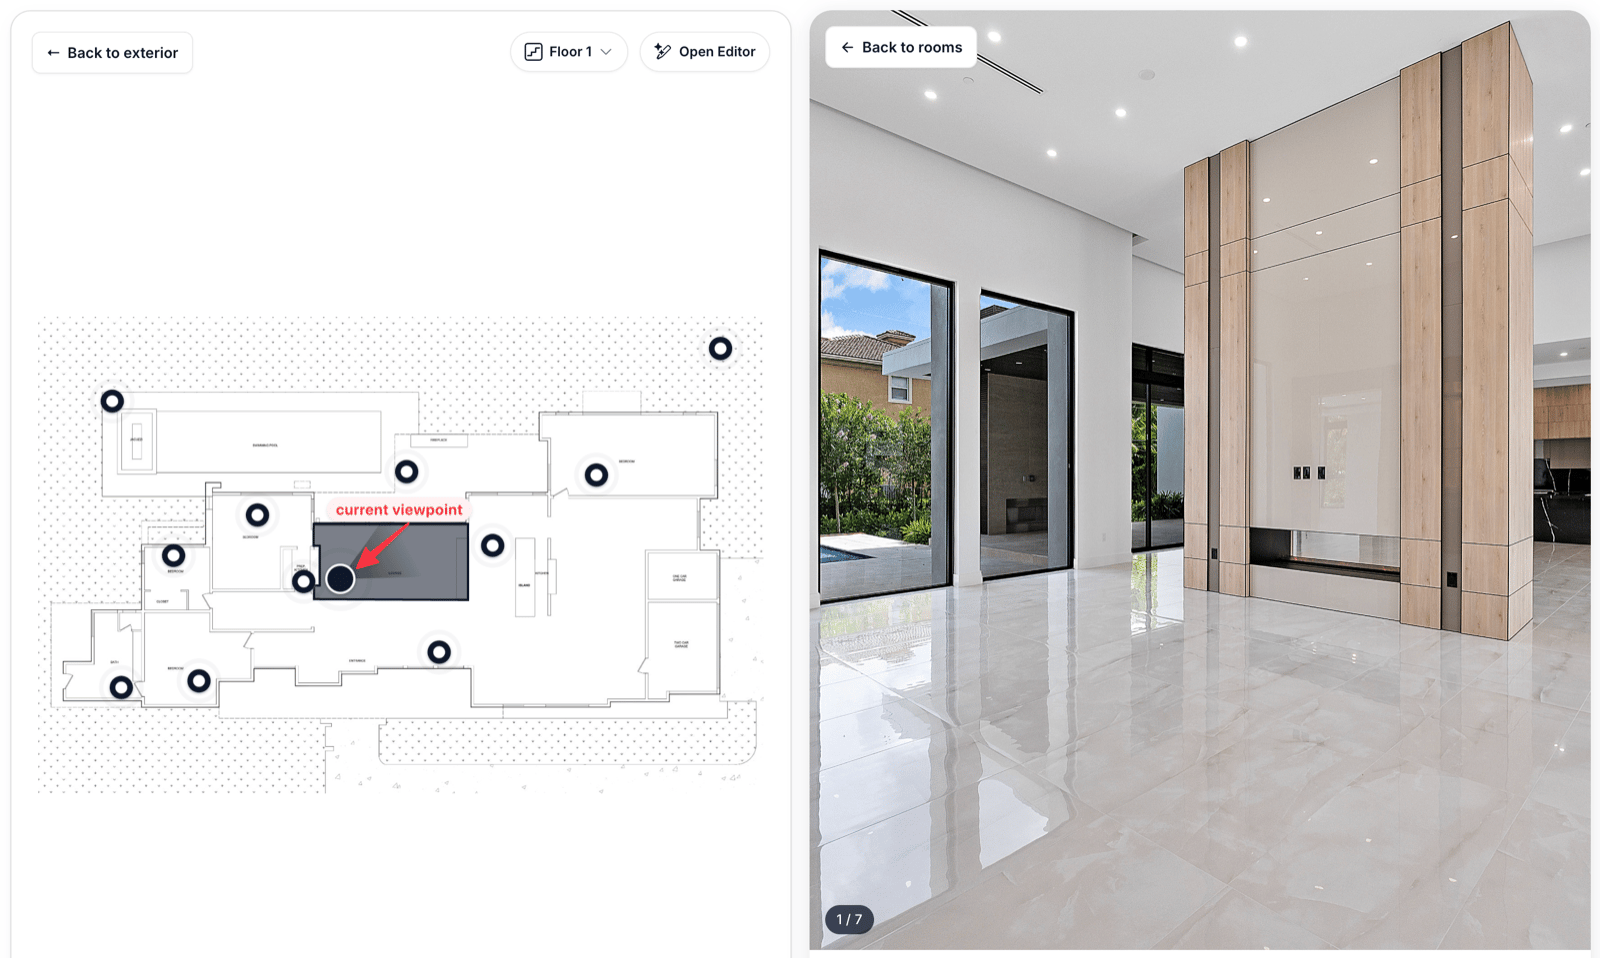
The current room shows a cone; the other rooms show rings you can click
Two kinds of viewpoint
Exterior viewpoint
Where the outside photo was taken. Set once, shared by every floor.
Room viewpoint
Where each room photo was taken. Set per room, in the room’s editor.
Setting a viewpoint
Open the room in Content → Rooms and scroll to the viewpoint editor under the polygon field.1
Place the marker
Drag the dot to the spot on the plan where the camera stood.
2
Point the cone
Drag the handle, or type the Angle in degrees.
0 points up the plan, and the angle increases clockwise.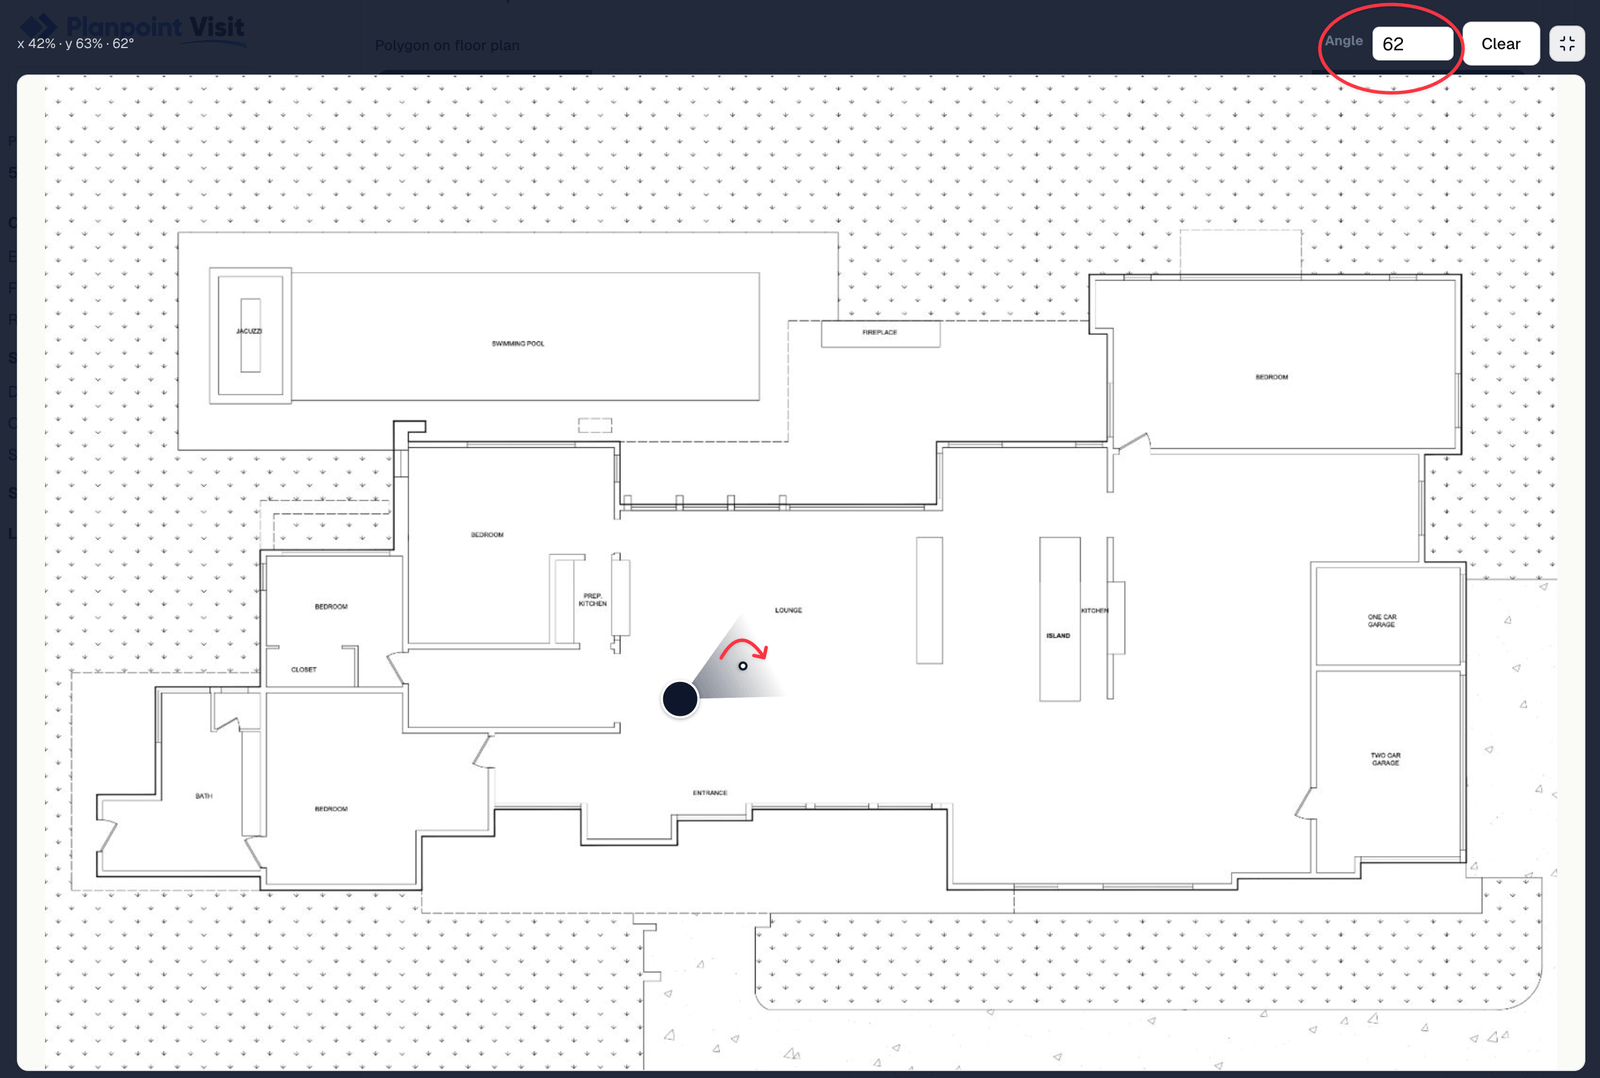
The viewpoint editor — drag the marker, then set the angle
Placing the dot in fullscreen, then rotating the cone to match the shot
The marker is deliberately small in the editor — it is a placement aid, not a preview. How big it looks to buyers is controlled globally by Viewpoint size in the style editor.
Size and thumbnails
Two global settings, both in Settings → Customization → Customize → Theme:- Viewpoint size — one slider for the whole property. Every marker scales together, so no floor ends up with bigger dots than another.
- Viewpoint thumbnails — when on, hovering a marker pops up a small preview of that room’s photo, placed on the opposite side of the cone so it never hides the direction.
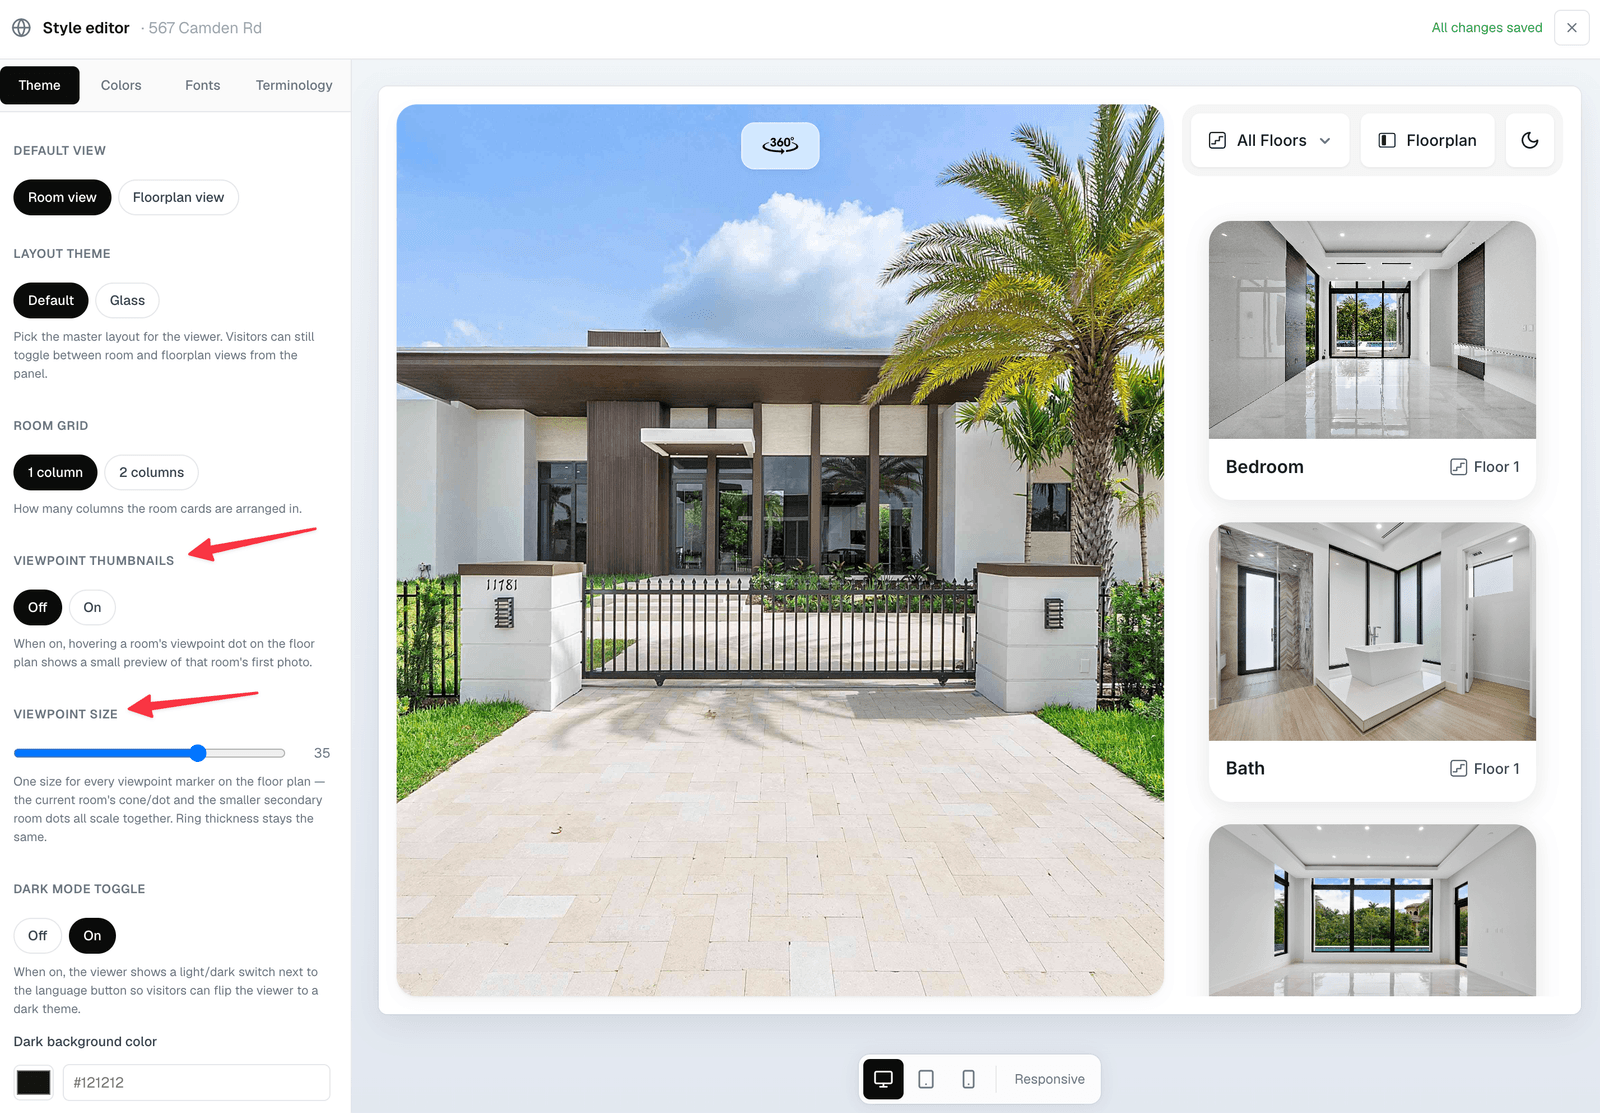
Viewpoint thumbnails — an optional preview on hover
Why they matter
- Buyers stop guessing which wall a photo is showing.
- The marker glides from room to room as they browse, which reads as movement through the home.
- Rooms without a photo still get a marker, so the plan does not feel half-finished.