

1. The exterior
The tour opens on the exterior photo. The floor outlines you traced light up on hover, and a single click (or tap) enters that floor.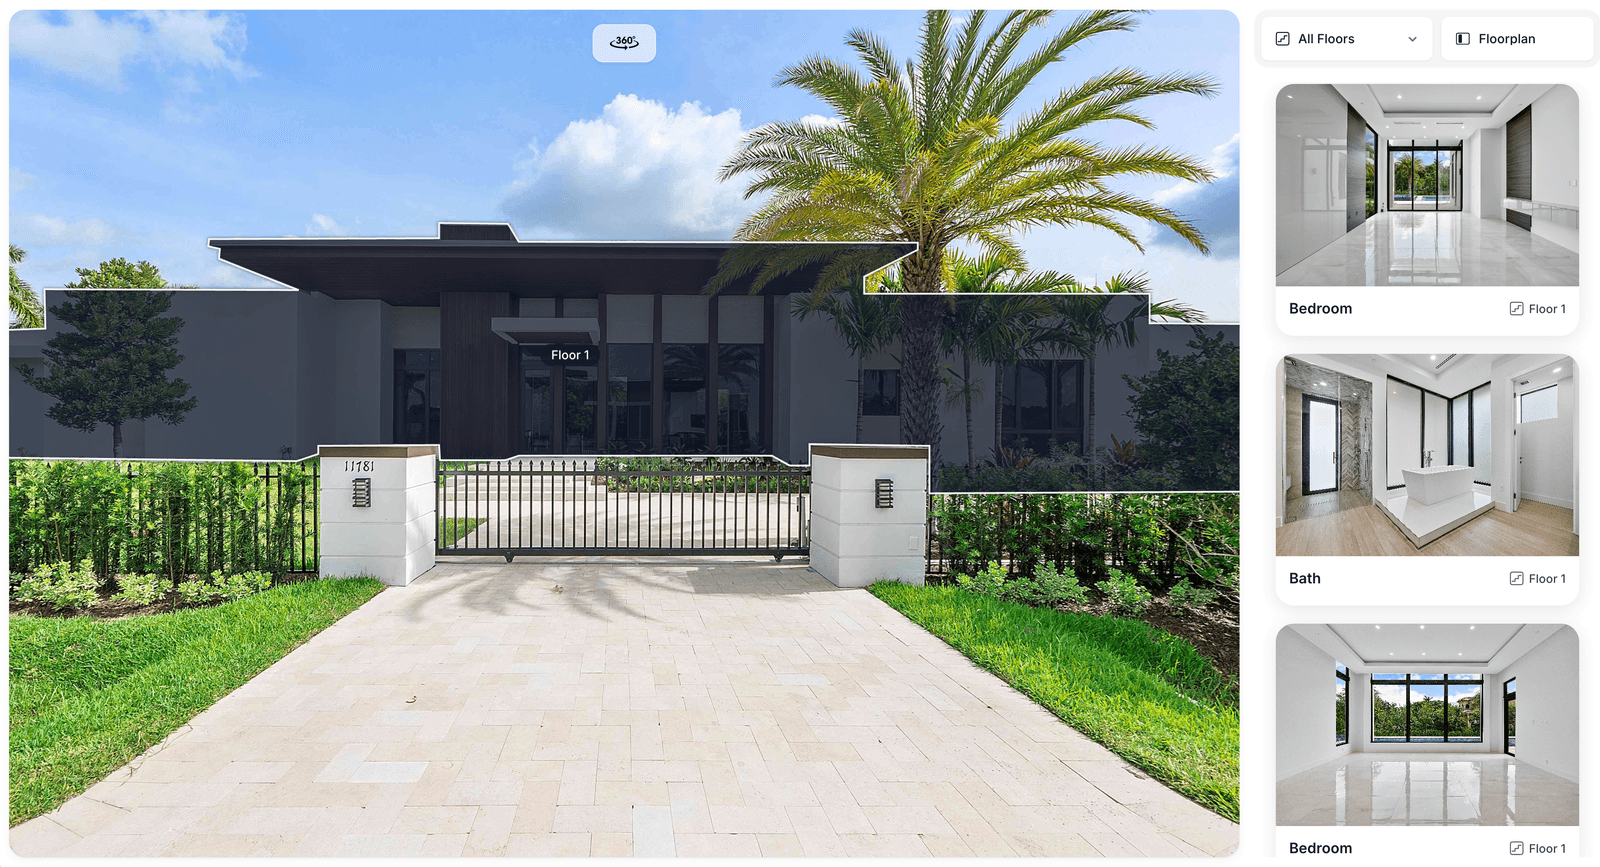
Exterior view — hovering a storey highlights it and shows the floor name
2. The browse panel
The right pane is the buyer’s control centre:- Floors — filter the list to one level or show every room.
- Floorplan / Rooms — a single toggle that swaps the right pane between the room cards and the floor plan.
- Language — a round flag button, shown only when you offer more than one language.
- Light / dark — shown only if you enable the dark-mode toggle.
- ⋮ — extra actions on small screens, including Panorama.

The filter row: Floors, the Floorplan/Rooms toggle, the language flag and the theme switch
3. Floor plan view
Choosing a floor — or switching the toggle to Floorplan — shows the plan. Every room you traced becomes a clickable shape, and every room with a viewpoint gets a marker showing where the photo was taken and which way the camera was pointing.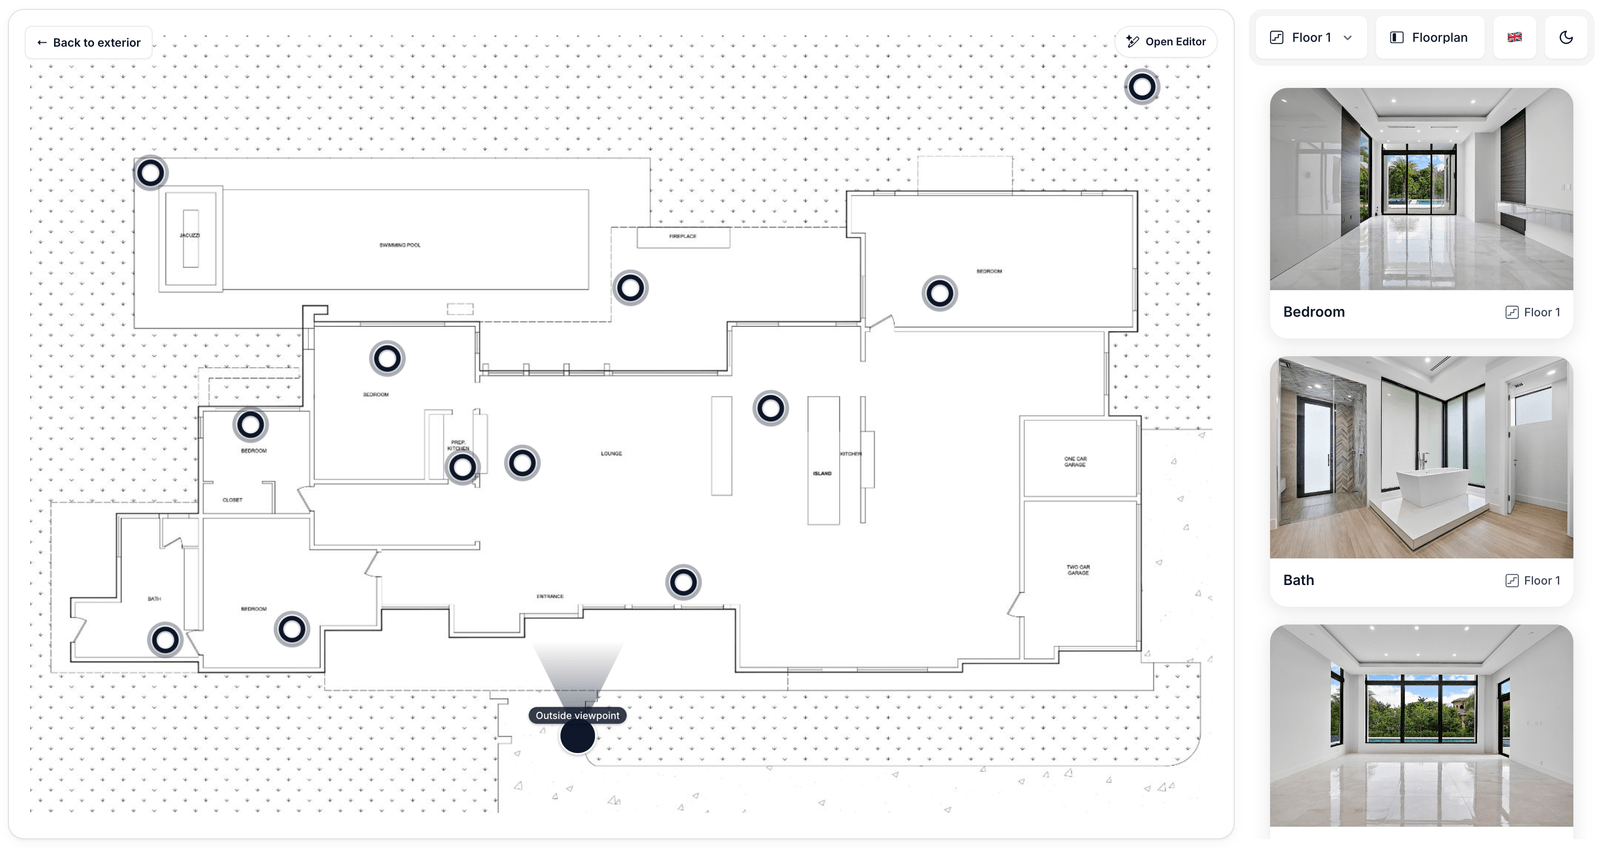
Floor plan view — viewpoint markers, the floor selector and Open Editor
4. Room view
Opening a room shows its photo gallery on one side and the floor plan on the other, with the current viewpoint highlighted so the buyer always knows where they are standing.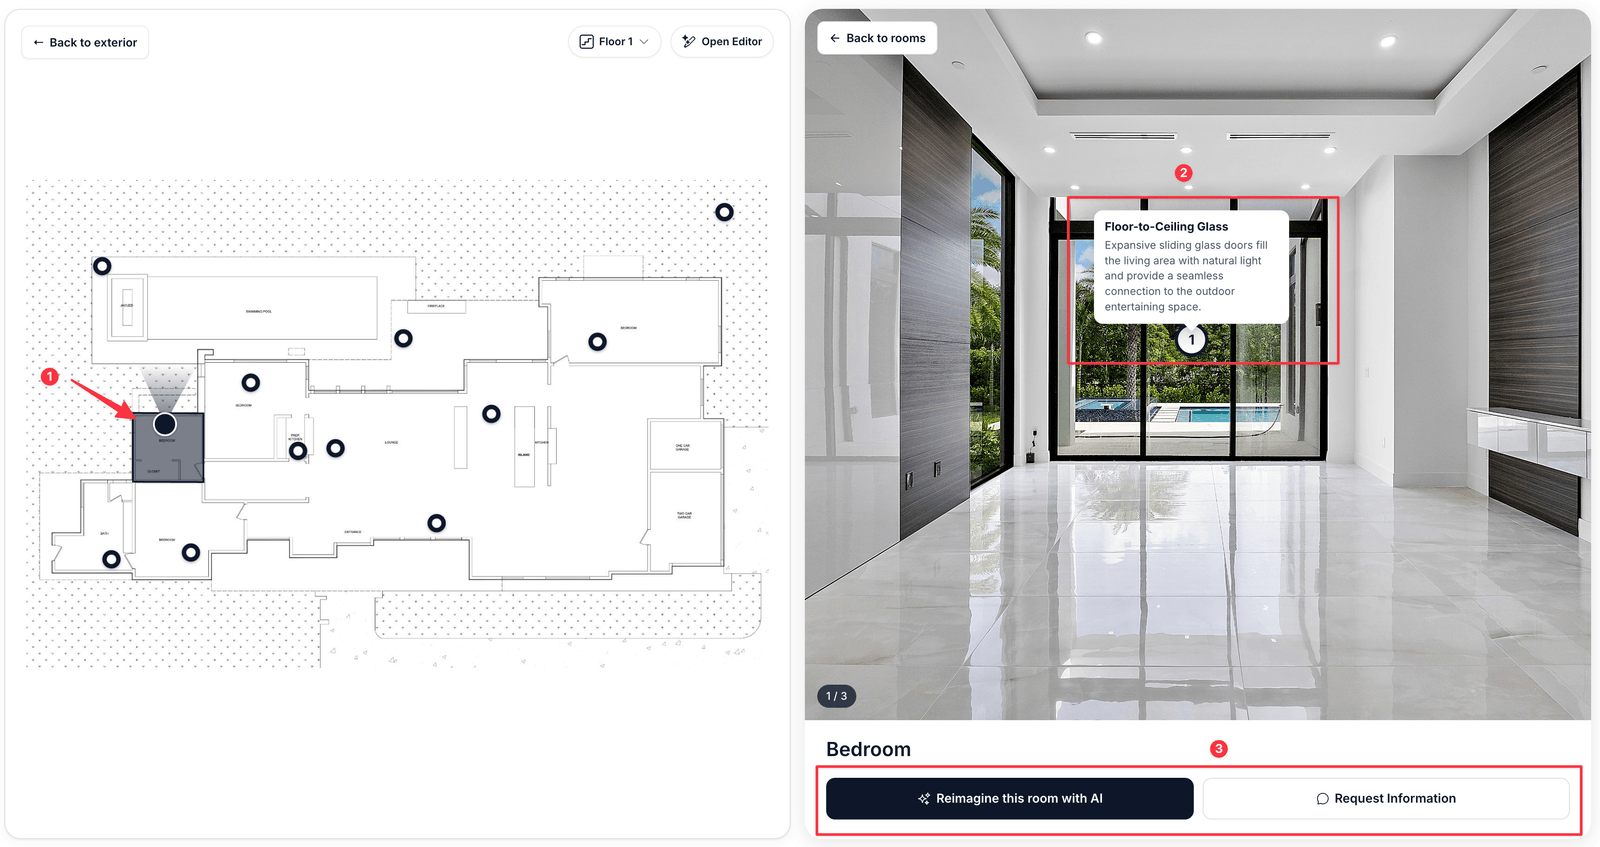
Room view — photo gallery with feature hotspots and the two calls to action
- Click any photo to open it fullscreen.
- Click a feature hotspot to read about a specific fitting or finish.
- Reimagine this room with AI — restyle the photo from a text prompt.
- Request Information — send you their details (only when the form is enabled).
5. Extras
Panorama
A full-bleed landscape mode for phones and tablets.
Property Map
When the property belongs to a portfolio map, buyers can browse the whole portfolio.