

Enabling languages
Everything to do with languages lives on one page: Languages → Translations in the property sidebar. At the top, Languages offered lists the six optional languages with their flags — tick the ones this property should offer.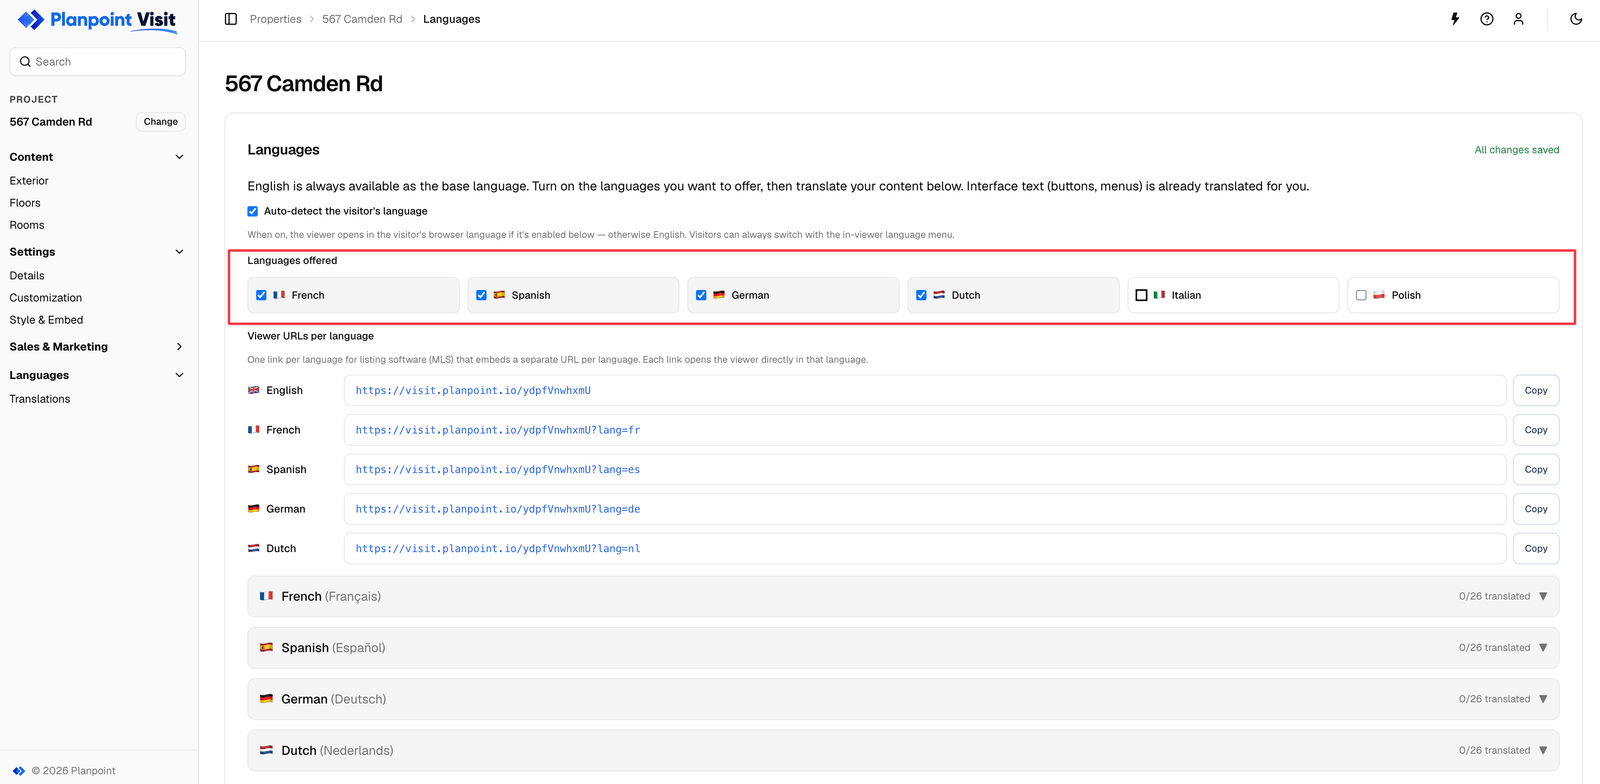
Pick the languages this Visit should offer
Switching language in the viewer — interface labels and your own text both follow
Auto-detect
Auto-detect the visitor’s language is a checkbox at the top of the page. When it is on, the viewer opens in the visitor’s browser language if you have enabled it, and falls back to English otherwise. Visitors can always switch manually.One URL per language
Once a language is enabled, a Viewer URLs per language list appears with a copyable link for each — English on the plain URL, the rest with?lang=xx. This exists for listing software and MLS feeds that take a separate URL per language.
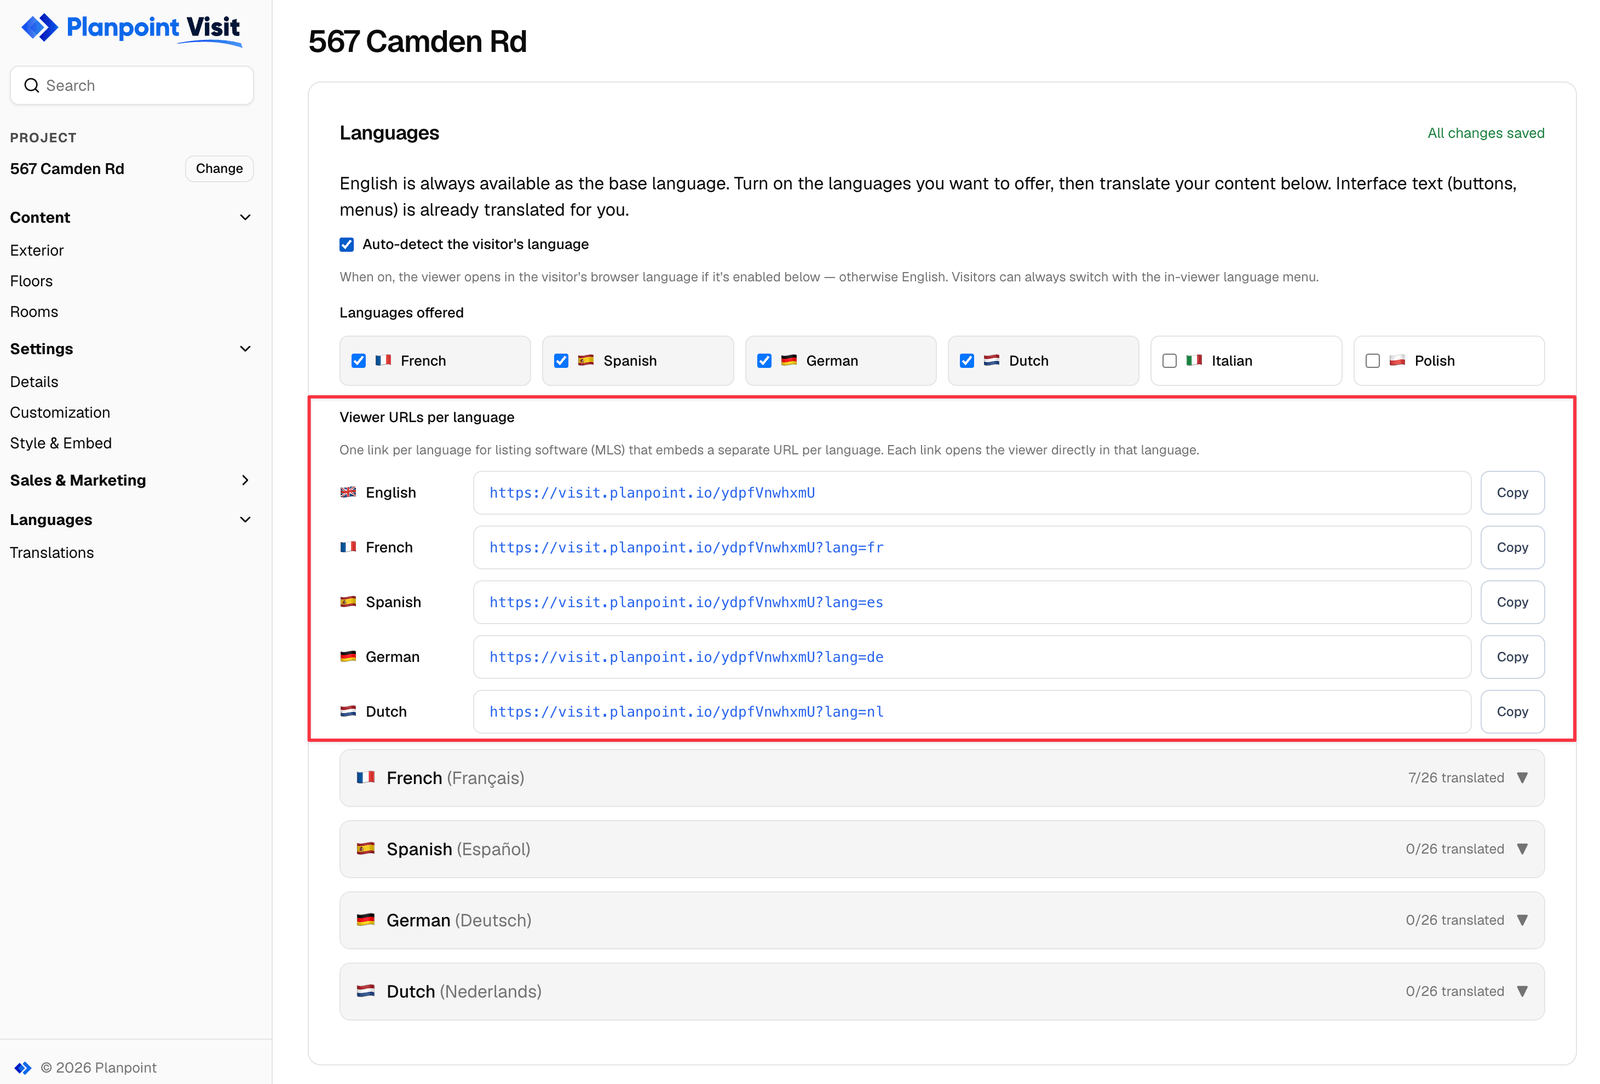
A ready-made link per language, with a Copy button on each row
Interface vs your text
Two different things get translated:- Interface labels — Request Information, All Floors, Back to exterior and the rest. These ship translated; you do not have to do anything.
- Your content — property description, room names, room descriptions, hotspot titles, form copy. These are yours to translate.
Translating your content
Below the language toggles, each enabled language gets its own expandable panel showing how many strings are done out of the total. Open one and you get every piece of text you have written, grouped by where it appears, with the English original beside an empty field to translate into.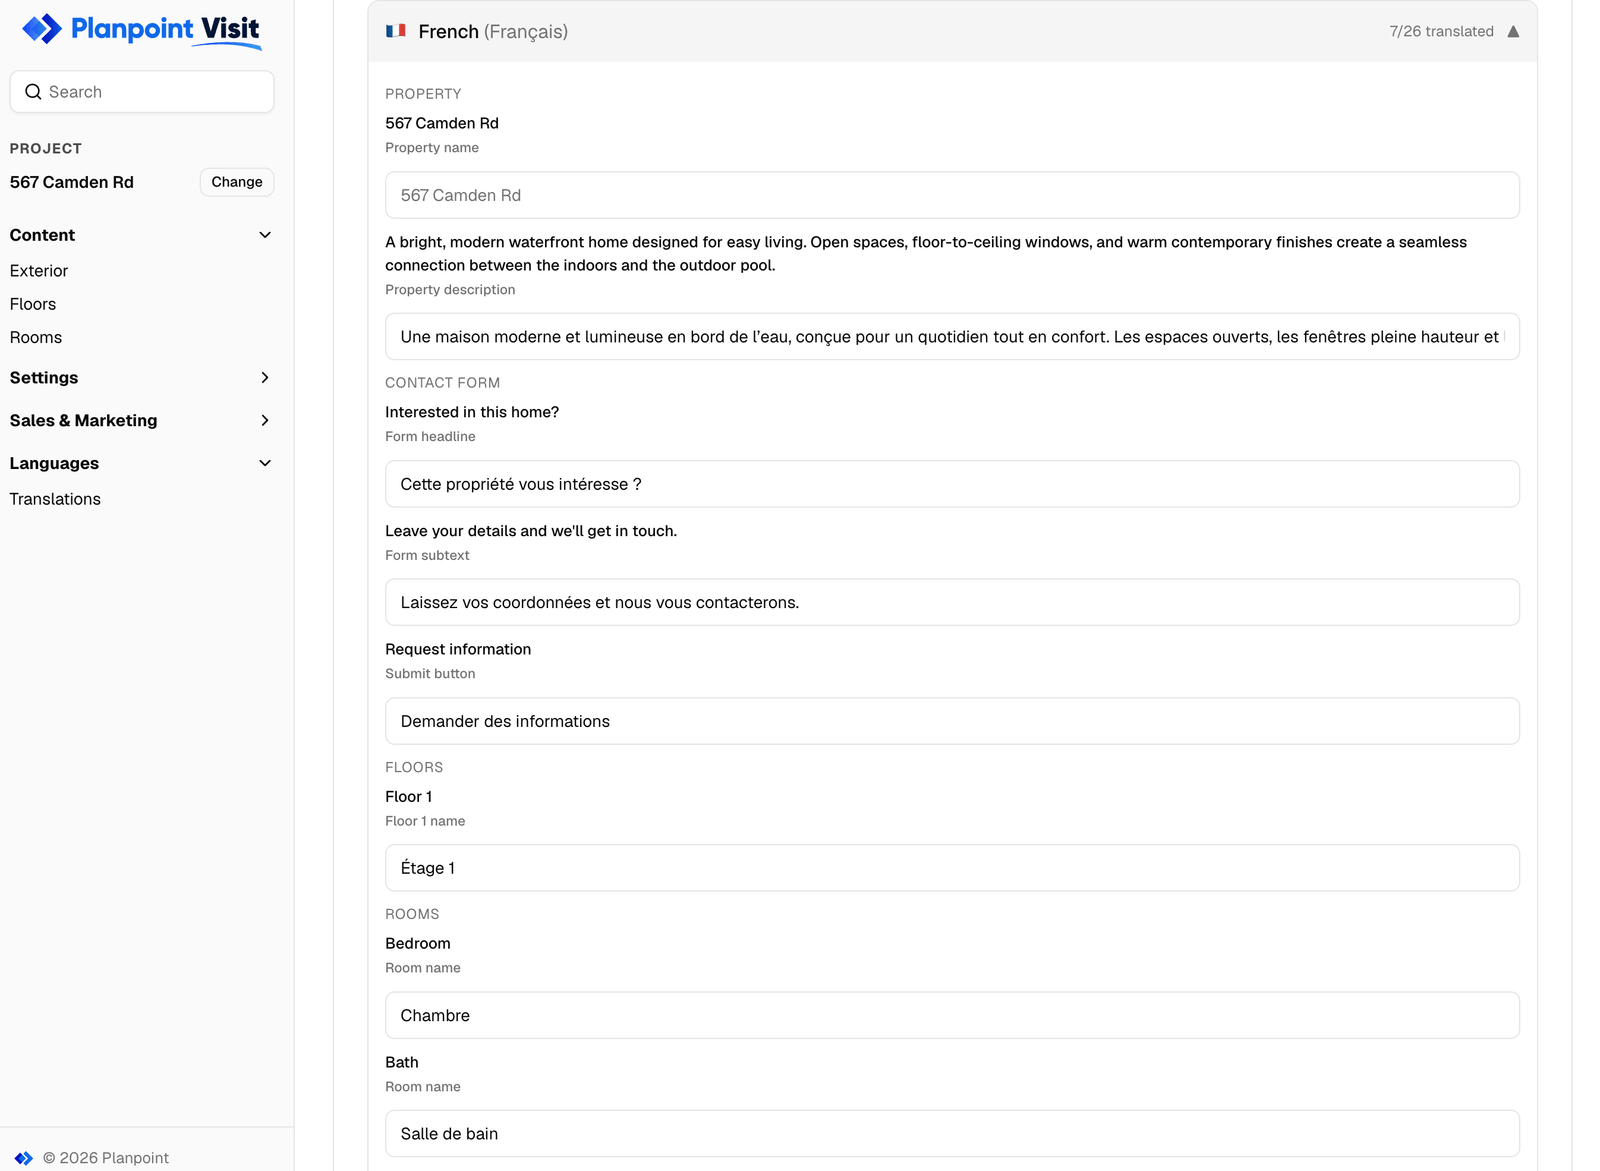
Every string you wrote, in one place, per language
1
Enable the languages first
Panels only appear for languages that are ticked above.
2
Finish the English content first
Adding a room after you translate means coming back for it. Translate last.
3
Fill in what matters
The property description, room names and hotspot titles carry the most weight. Long room descriptions can come later.
4
Check the viewer
Open the Visit, switch language with the flag button and read it through.
Anything you leave blank falls back to the English original — a partly translated Visit still works, it just mixes languages.
How a language is chosen
- An explicit
?lang=in the URL wins. - Otherwise, with auto-detect on, the visitor’s browser language is used — if you have enabled it.
- Otherwise English.