

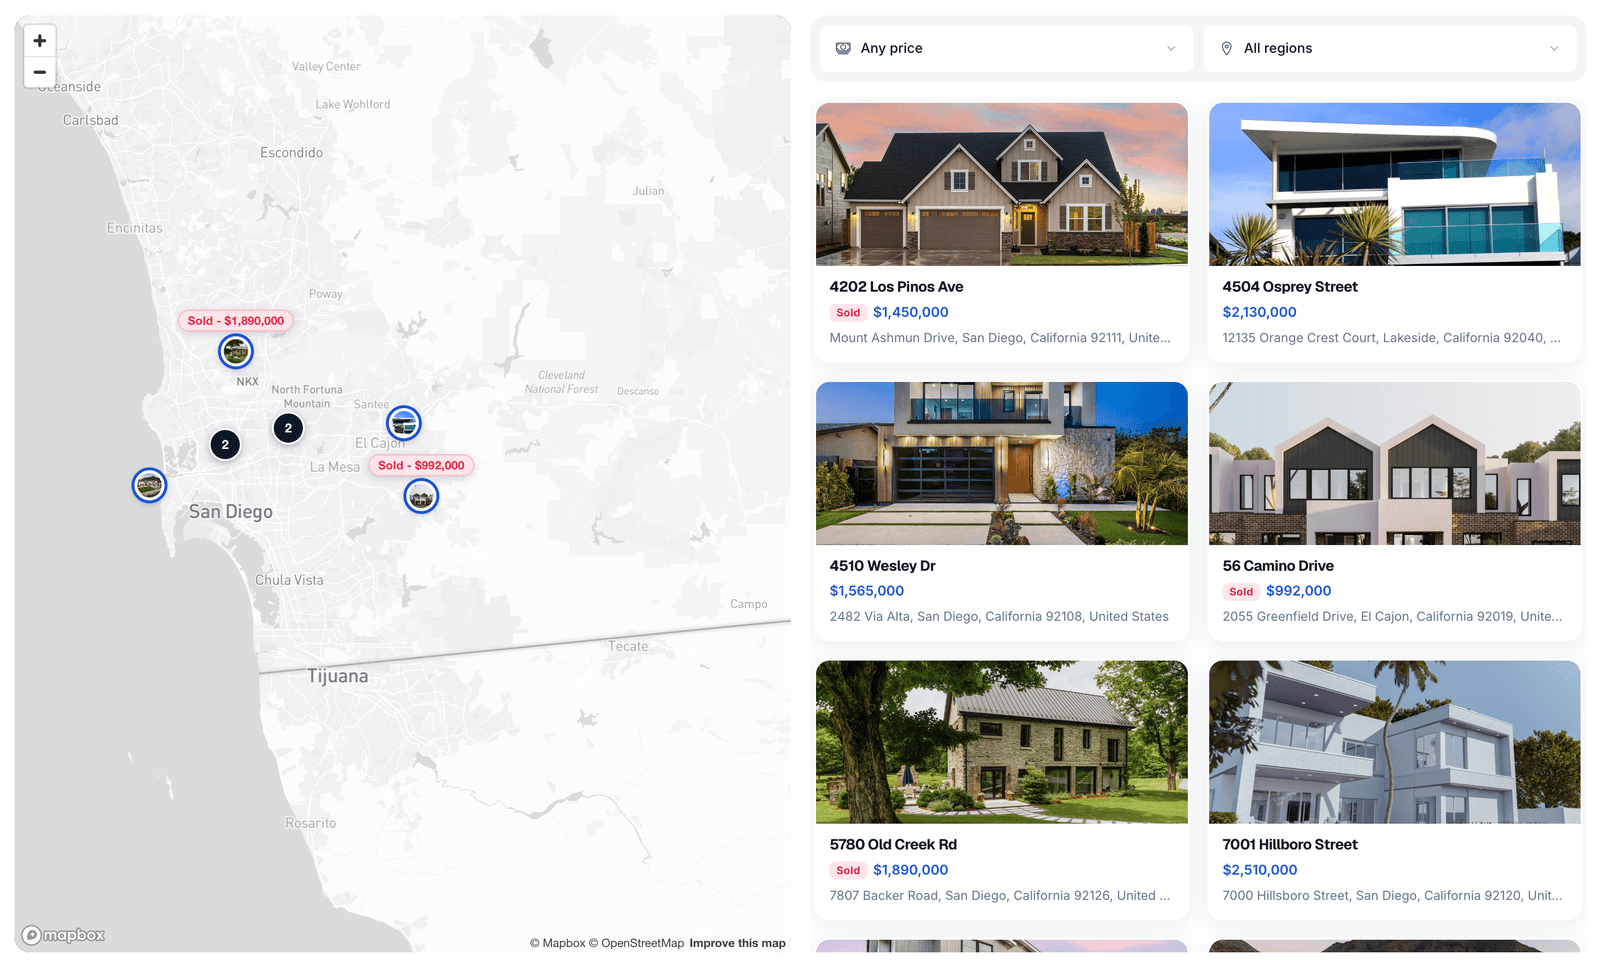
A Property Map — pins on the left, browsable cards on the right
Creating one
1
New map
From the sidebar, open Property Maps and create a new map. Give it a name.
2
Add properties
In the Properties tab, add the Visits that belong on the map. You can add several at once by tag.
3
Check the pins
Each pin comes from the property’s Location in Details. Missing pin means missing location — fix it on the property.
4
Style it
In Settings, set the marker colour and size, the split between map and list, and the map’s own title and description.
5
Share
The map has its own public URL and its own embed snippet, exactly like a Visit.
Building a map — adding properties and styling the result
The three tabs
Map
Map
An editable preview of the finished map. Pan and zoom to the default view you want visitors to land on.
Properties
Properties
The list of included Visits. Add by name or pull in everything carrying a tag — handy for “all new-builds” or “phase 2”.
Settings
Settings
Name, description, marker colour and size, the map-to-list column ratio, price and region filters, and the public URL and embed snippet.
What visitors can do
- Click a pin to focus the matching card, and click a card to fly to its pin
- Filter by price with the range control, if you enabled it
- Filter by region when your properties span several areas
- Open a property to jump into that Visit
- Go fullscreen for a bigger map
Filters
Price and region filters are optional and are worth turning on once a map carries more than a handful of properties. Prices come from the Price label field on each property, so keep the format consistent — mixing€450,000 and 450k makes the range control less useful.
Sharing
A map lives at its own URL and can be embedded the same way as a Visit. Fullscreen maps use the/e/<slug> path.